Composting sounds simple until you try to start and suddenly every answer gets oddly technical. Greens. Browns. Ratios. Tumblers. Worm bins. Hot piles. Cold piles. Carbon. Nitrogen. Turning schedules. Moisture levels. Then someone on the internet tells you that you are doing it wrong because your pile is not steaming by Tuesday.
For a beginner, that is too much. The simplest way to start composting is this: collect plant-based kitchen scraps, mix them with dry carbon material like leaves or shredded cardboard, keep the pile lightly moist, and give it air. That is the whole starting point. You can refine it later.
Why composting belongs early in a beginner homestead
Composting is not glamorous, which is exactly why it is useful. A lot of beginner homesteading projects ask for money first. Composting mostly asks for attention. You start noticing vegetable peels, coffee grounds, eggshells, fall leaves, cardboard, grass clippings, and the quiet amount of organic material that moves through a household every week.
That does not mean composting is free in every situation. You may still need a bin, a bucket, a fork, or a little space. But compared with chickens, raised beds, fencing, irrigation, or land equipment, composting is a low-risk skill. It teaches that waste is often a misplaced resource, soil improvement takes time, and small routines beat big bursts of motivation.
Choose the simplest composting method for your life
The right composting system is not the one that looks best online. It is the one you will keep using when the week is busy. Most beginners with a yard should start with a basic outdoor bin, a wire ring, a wooden pallet bin, or a contained pile in a tucked-away corner. The goal is containment, airflow, and easy access.
A tumbler can be useful if you need a neat setup and easier turning, but it is not magic. Worm composting can be excellent in the right household, but it may be too fussy if you are already learning a garden, chickens, budgeting, and a new weekly rhythm. There is no shame in starting with the boring outdoor version first.
What to put in compost
Think in two categories: greens and browns. Greens are wet, fresh, nitrogen-rich materials. Browns are dry, carbon-rich materials. Beginners usually add too many greens and not enough browns. That is where smell starts.
If your compost smells bad, add browns first. That one rule solves many beginner problems.
What not to compost at first
Beginners should keep the first system boring and clean. Avoid meat, fish, dairy, oily foods, grease, cooked food with sauces, pet waste, diseased plants, weeds that have gone to seed, glossy paper, treated wood sawdust, and large branches unless they are chipped.
Some experienced composters handle more complicated materials, but the first goal is not proving what is technically possible. The first goal is building a system that does not smell, attract pests, or become another abandoned project.
The beginner compost ratio that actually helps
You will hear compost people talk about the perfect carbon-to-nitrogen ratio. It matters, but you do not need to calculate it at the kitchen counter. Use this practical rule: for every bucket of kitchen scraps, add two or three buckets of dry browns.
That might look like one bowl of vegetable scraps, a few handfuls of shredded cardboard, a layer of dry leaves, and a little water if everything is dusty and dry. If the pile is slimy, wet, or sour-smelling, add more browns and mix in air. If the pile is dry and doing nothing, add water and greens. If the pile smells earthy and is not attracting pests, you are close enough.
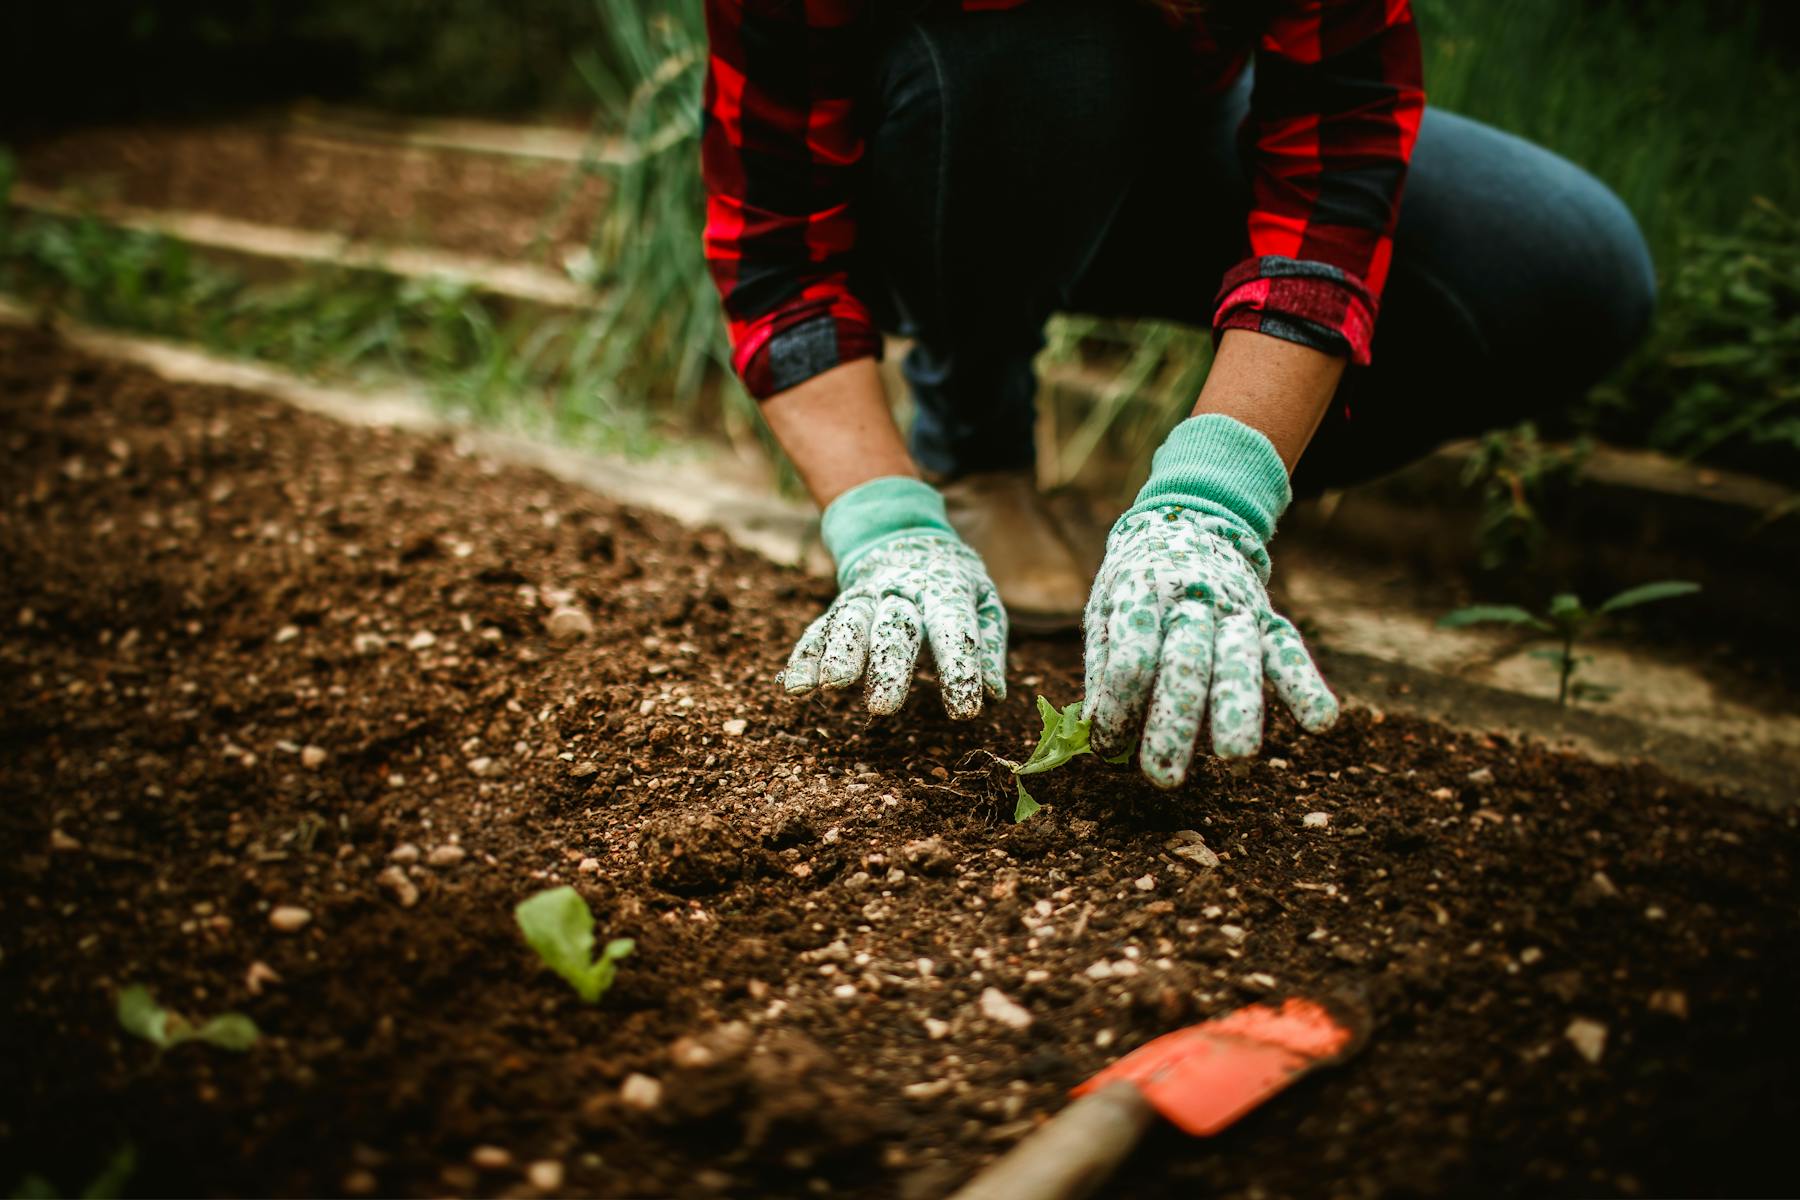
How to start your first compost bin this week
Convenience matters more than the ideal composting diagram. If the bin is too far away, you will stop using it. If browns are not nearby, you will add scraps without them. If the kitchen container is annoying, the scraps will sit too long. The first system should remove friction, not prove discipline.
How to keep compost from smelling
Compost should not smell like garbage. A healthy pile smells earthy, leafy, or mild. If it stinks, something is out of balance. Usually the pile is too wet, has too many greens, or does not have enough air.
How to keep pests away
Compost can attract pests if it is treated like an open trash pile. A beginner system should reduce temptation. Use a bin with a lid if animals are a concern, cover food scraps with browns every time, avoid tempting foods, and keep the pile moist but not soggy.
If you live somewhere with heavy raccoon, rodent, or bear pressure, use a more secure system and check local guidance. Composting should not create a safety problem.
When is compost finished?
Finished compost looks dark, crumbly, and earthy. The original scraps should be mostly unrecognizable. It should not smell sour. It should not look like fresh food. A managed hot pile may finish much faster, but a casual backyard bin may take several months or longer.
If you are unsure, use it around established plants as a top dressing rather than mixing large amounts into seed-starting soil. Unfinished compost can be too active for delicate seedlings.
What I would do first
If I were starting from scratch and wanted the simplest useful version, I would set up one outdoor bin, put a small lidded scrap container in the kitchen, gather a bag or tote of dry leaves or shredded cardboard, add scraps only when I could cover them with browns, turn the pile when it smelled off or when I remembered, and wait longer than I thought I should.
That is not the most optimized compost system. It is the most likely to keep going. Early on, continuing matters more than optimizing.
What can wait
Those things may be useful later. But they can also become another way to turn a simple habit into a research project. Start with scraps, browns, air, moisture, and time.
A simple compost troubleshooting guide
The real point of composting
Composting is not just about making soil. It is about building a loop. Food scraps leave the kitchen. Dry leaves stop being waste. Garden trimmings go back into the system. Over time, the household becomes a little less linear: buy, use, throw away, repeat.
That is the kind of homestead skill that fits a fresh start well. It is modest. It is practical. It is not dramatic. But it changes how you see the ordinary materials moving through your life. For beginners, that is enough.
Best Next Step
Before you add another system, put the first season on paper.
The first-season checklist helps you choose one food system, set a spending boundary, and write down what can wait before the whole plan gets too big.
Get the first-season checklistRecommended next reads
Read the next guide that supports this decision
These pieces help connect composting to a first garden, a realistic budget, and a calmer weekly rhythm.
Gardening
How to Plan Your First Homestead Garden Without Doing Too Much
A successful first garden is smaller, clearer, and less romantic than many beginners expect. That is a good thing.
Budgeting
Homesteading on a Budget: What to Buy First and What Can Wait
If money is tight, the smartest homestead purchases are the ones that reduce friction quickly and keep you from rebuying the same lesson twice.
Systems
How to Build a Calmer Weekly Homestead Rhythm
A workable weekly rhythm matters more than bursts of motivation. This is how to structure a steadier, lower-drama home system.
Frequently asked questions
Can beginners compost without a bin?
Yes, if local rules and pest pressure allow it. A contained bin is usually cleaner and easier for beginners, but a simple pile can work if it is managed well.
How long does compost take?
A casual beginner compost pile may take several months to a year. Turning, moisture, small particle size, and good green-to-brown balance can speed it up.
Why does my compost smell bad?
Compost usually smells bad when it is too wet, lacks air, or has too many food scraps without enough dry browns. Add leaves or shredded cardboard and turn the pile.
Can I compost in winter?
Yes. The pile may slow down or pause in cold weather, but you can keep adding balanced materials and let decomposition pick up again when temperatures rise.
Recommendations
Useful tools and resources for this decision
These are included only where they reduce repeated friction, clarify a next step, or help you avoid buying the wrong thing first.
Helpful, not required
Countertop compost caddy
A lidded kitchen container can make the daily scrap habit cleaner if you do not already have a covered bowl or bucket that works.
Best for: Keeping kitchen scraps contained between trips outside
Check current priceGood for small yards
Basic outdoor compost bin
A simple enclosed bin is useful when pest pressure, neighbors, or a small yard make an open pile unrealistic.
Best for: Beginners who need a contained, tidy first setup
Check current priceMulti-use tool
Garden fork
Useful for adding air to a pile, mixing in browns, and moving finished compost when the first batch is ready.
Best for: Turning and loosening compost without buying specialized gear
Check current priceRecommended next reads
Read next if it helps the decision
Move into the next guide only if it clarifies the next practical step.
Gardening
How to Plan Your First Homestead Garden Without Doing Too Much
A successful first garden is smaller, clearer, and less romantic than many beginners expect. That is a good thing.
Budgeting
Homesteading on a Budget: What to Buy First and What Can Wait
If money is tight, the smartest homestead purchases are the ones that reduce friction quickly and keep you from rebuying the same lesson twice.
Systems
How to Build a Calmer Weekly Homestead Rhythm
A workable weekly rhythm matters more than bursts of motivation. This is how to structure a steadier, lower-drama home system.
Garden gear support
Get the buy-first guide before the first garden collects too much gear.
Use the guide to decide which early garden purchases earn money now, which ones can be borrowed, and which ones can wait until the routine proves itself.
Best for: Beginners who keep seeing useful things online and need a disciplined way to decide what actually earns a place.
- A buy now, borrow, wait, or skip framework
- Starter category shortlists
- A three-question purchase test
Garden planning notes, restrained gear decisions, and the guide first.
After signup, the download will unlock right here so you can save or print it.
About the author
William Mock
Founder, writer, and beginner homesteader
William writes from the beginner side of rebuilding after a layoff: homestead plans, family systems, budgets, tools, and the decisions that make a home feel less fragile.
Read why this site existsRelated Guides
Keep building context
Gardening
How to Plan Your First Homestead Garden Without Doing Too Much
A successful first garden is smaller, clearer, and less romantic than many beginners expect. That is a good thing.
Homesteading
Beginner Homesteading: Where to Start When You Feel Overwhelmed
If homesteading feels meaningful but overwhelming, start with a simpler order of operations instead of trying to do everything at once.
Budgeting
Homesteading on a Budget: What to Buy First and What Can Wait
If money is tight, the smartest homestead purchases are the ones that reduce friction quickly and keep you from rebuying the same lesson twice.